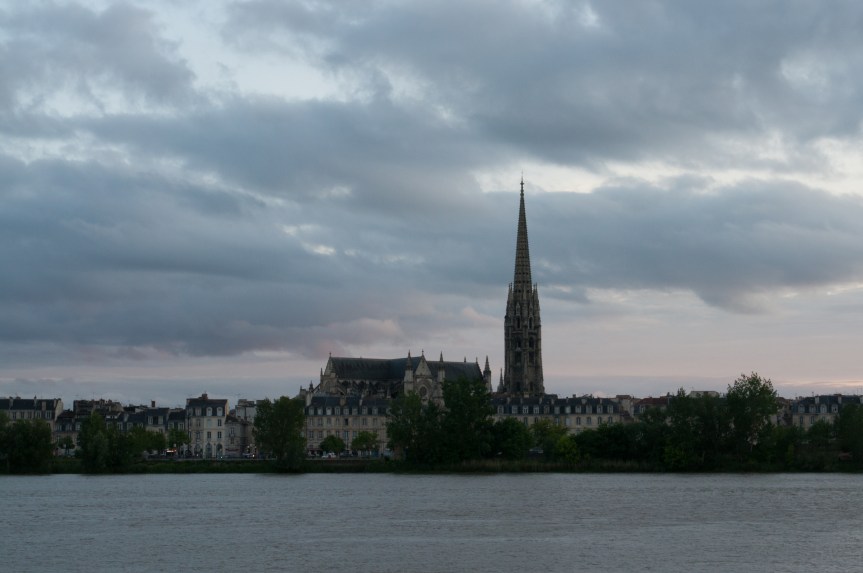
In this episode of Photo Edits – Before and After, I’ll walk you through the large and small edits necessary to turn this photo from meh to WOW. This is one of those cases that occurs from time to time where the photo you take just doesn’t even come close to what you saw with you eyes and you have to alter it considerably in post.
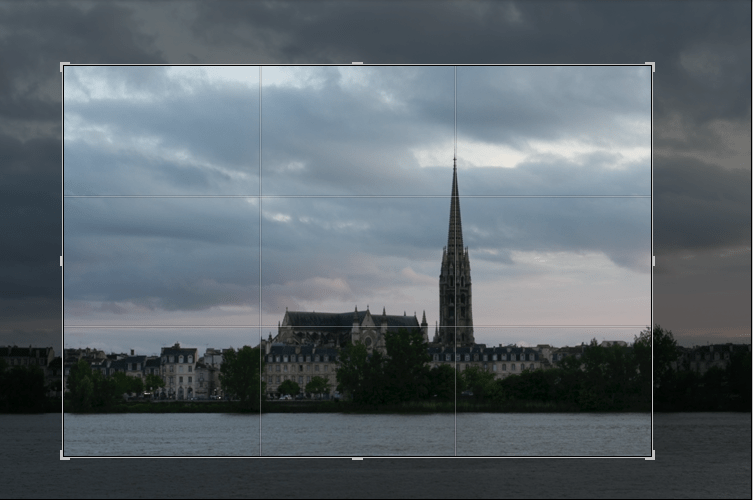
The first step is to apply lens correction and crop the photo. You’ll notice that I put the steeple/bell tower right on one of the “Rule of Thirds” lines.
Next, I made global adjustments to the photo as seen below.

I raised the white balance from 6600 to 6916, raised the overall exposure, raised the shadows and lowered the highlights. This got the front part of the photo correct but didn’t get the sky quite right.

The next step was to get the sky adjusted. First, I applied a gradient from the top that lowered the exposure one stop and lowered the temp by 10 to put some more blue in there. I did this as a gradient rather than a brush to help it blend into the rest of the photo better. Notice that I have used a brush to remove the gradient from the bell tower.
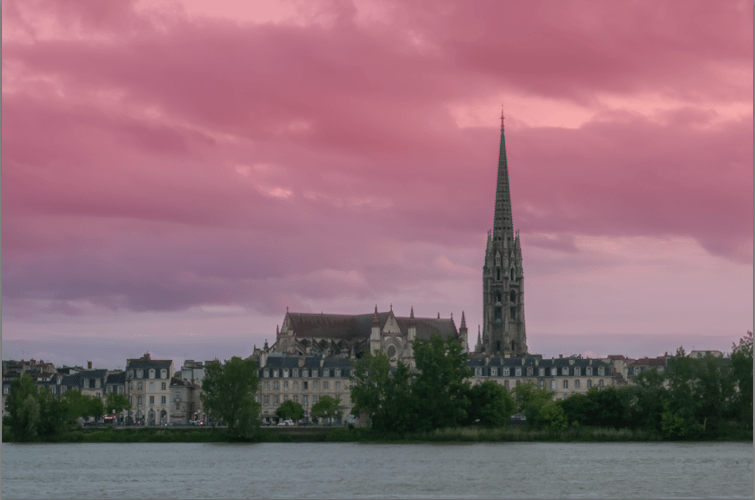
Next, I brushed all of the sky with a brush and raised the tint by 100 making it more red. 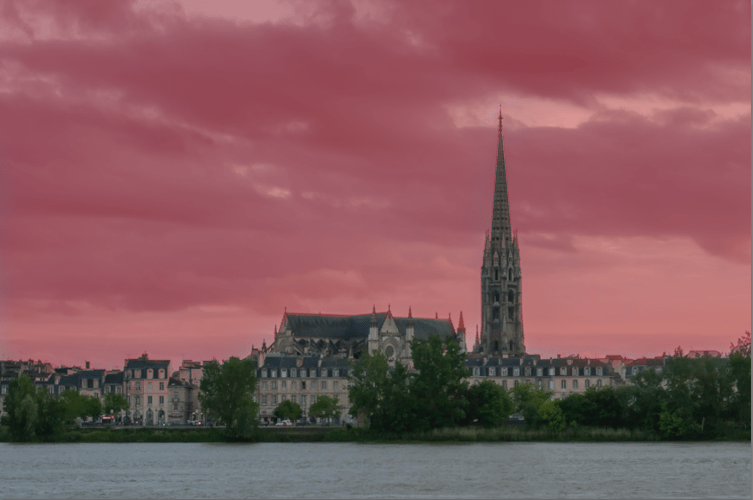
And voila, it’s done! See the before and after below.