
My master’s thesis is a hexakopter that captures weather data. It stores this data locally but also sends it back to a base station on the ground using a series one Xbee Pro 900MHz. I finally received my pair of Xbees last week (don’t you love slow purchasing departments?) and wanted to test the range of the wireless link.
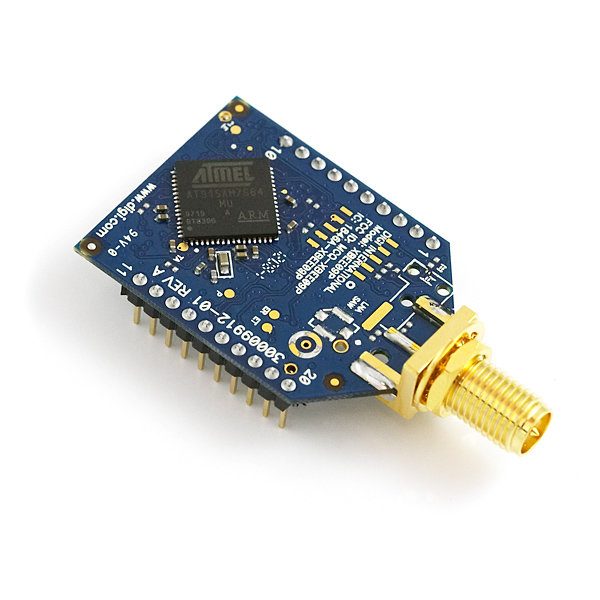
A brief into for those of you who haven’t heard of the Xbees. Xbees are a wireless module that operate using the Zigbee protocal. There are two versions of the Xbees: Series 1 and Series 2. You can think of the series 1 as a wireless serial cable. You connect each of the xbees to rx, tx, and power and you’re done. Series 1 Xbees are usually bought in pairs that are already programmed to each other. The Series 2 can function this way but can also be used for mesh networking and many more complicated setups. There are several different models of Xbees that differ in frequency, power, and antenna types. Sparkfun has a great buying guide here.
For my project I just need a simple connection so I chose the easier to understand series 1. Since my hexakopter will be operating at a range of 1-2 miles, I needed a long range Xbee. The 2.4GHz modules top out at a one mile range under ideal conditions. These range specs are usually made under ideal conditions and only represent line of sight distance. I guarantee you will get a much much smaller distance when using them indoors or around other obstacles. Since I’m generally skeptical of range specifications, I went for this 900MHz pro module instead which has range of six miles with a high gain antenna. it’s much more than I need but I wanted to make sure it would work under non-ideal conditions. Unfortunately this longer range reduces the throughput so the 900MHz module operates at a max of 156 kbps while the 2.4GHz operates at the faster 250 kbps. But for my purposes of transmitting a few values a couple times a second, this is more than fast enough.
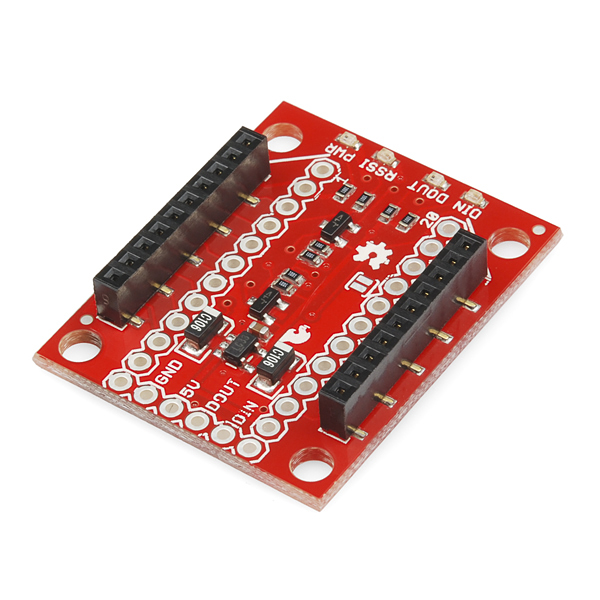
There are two other important things to consider after purchasing your Xbees. 1) They operate at 3.3 volts. 2) The pin spacing is a rather uncommon 2mm (if anybody has an idea as to why, please let me know). Because of this, they are usually used with a regulated board that does voltage conversion and break out the pins to a more standard 2.54mm spacing.

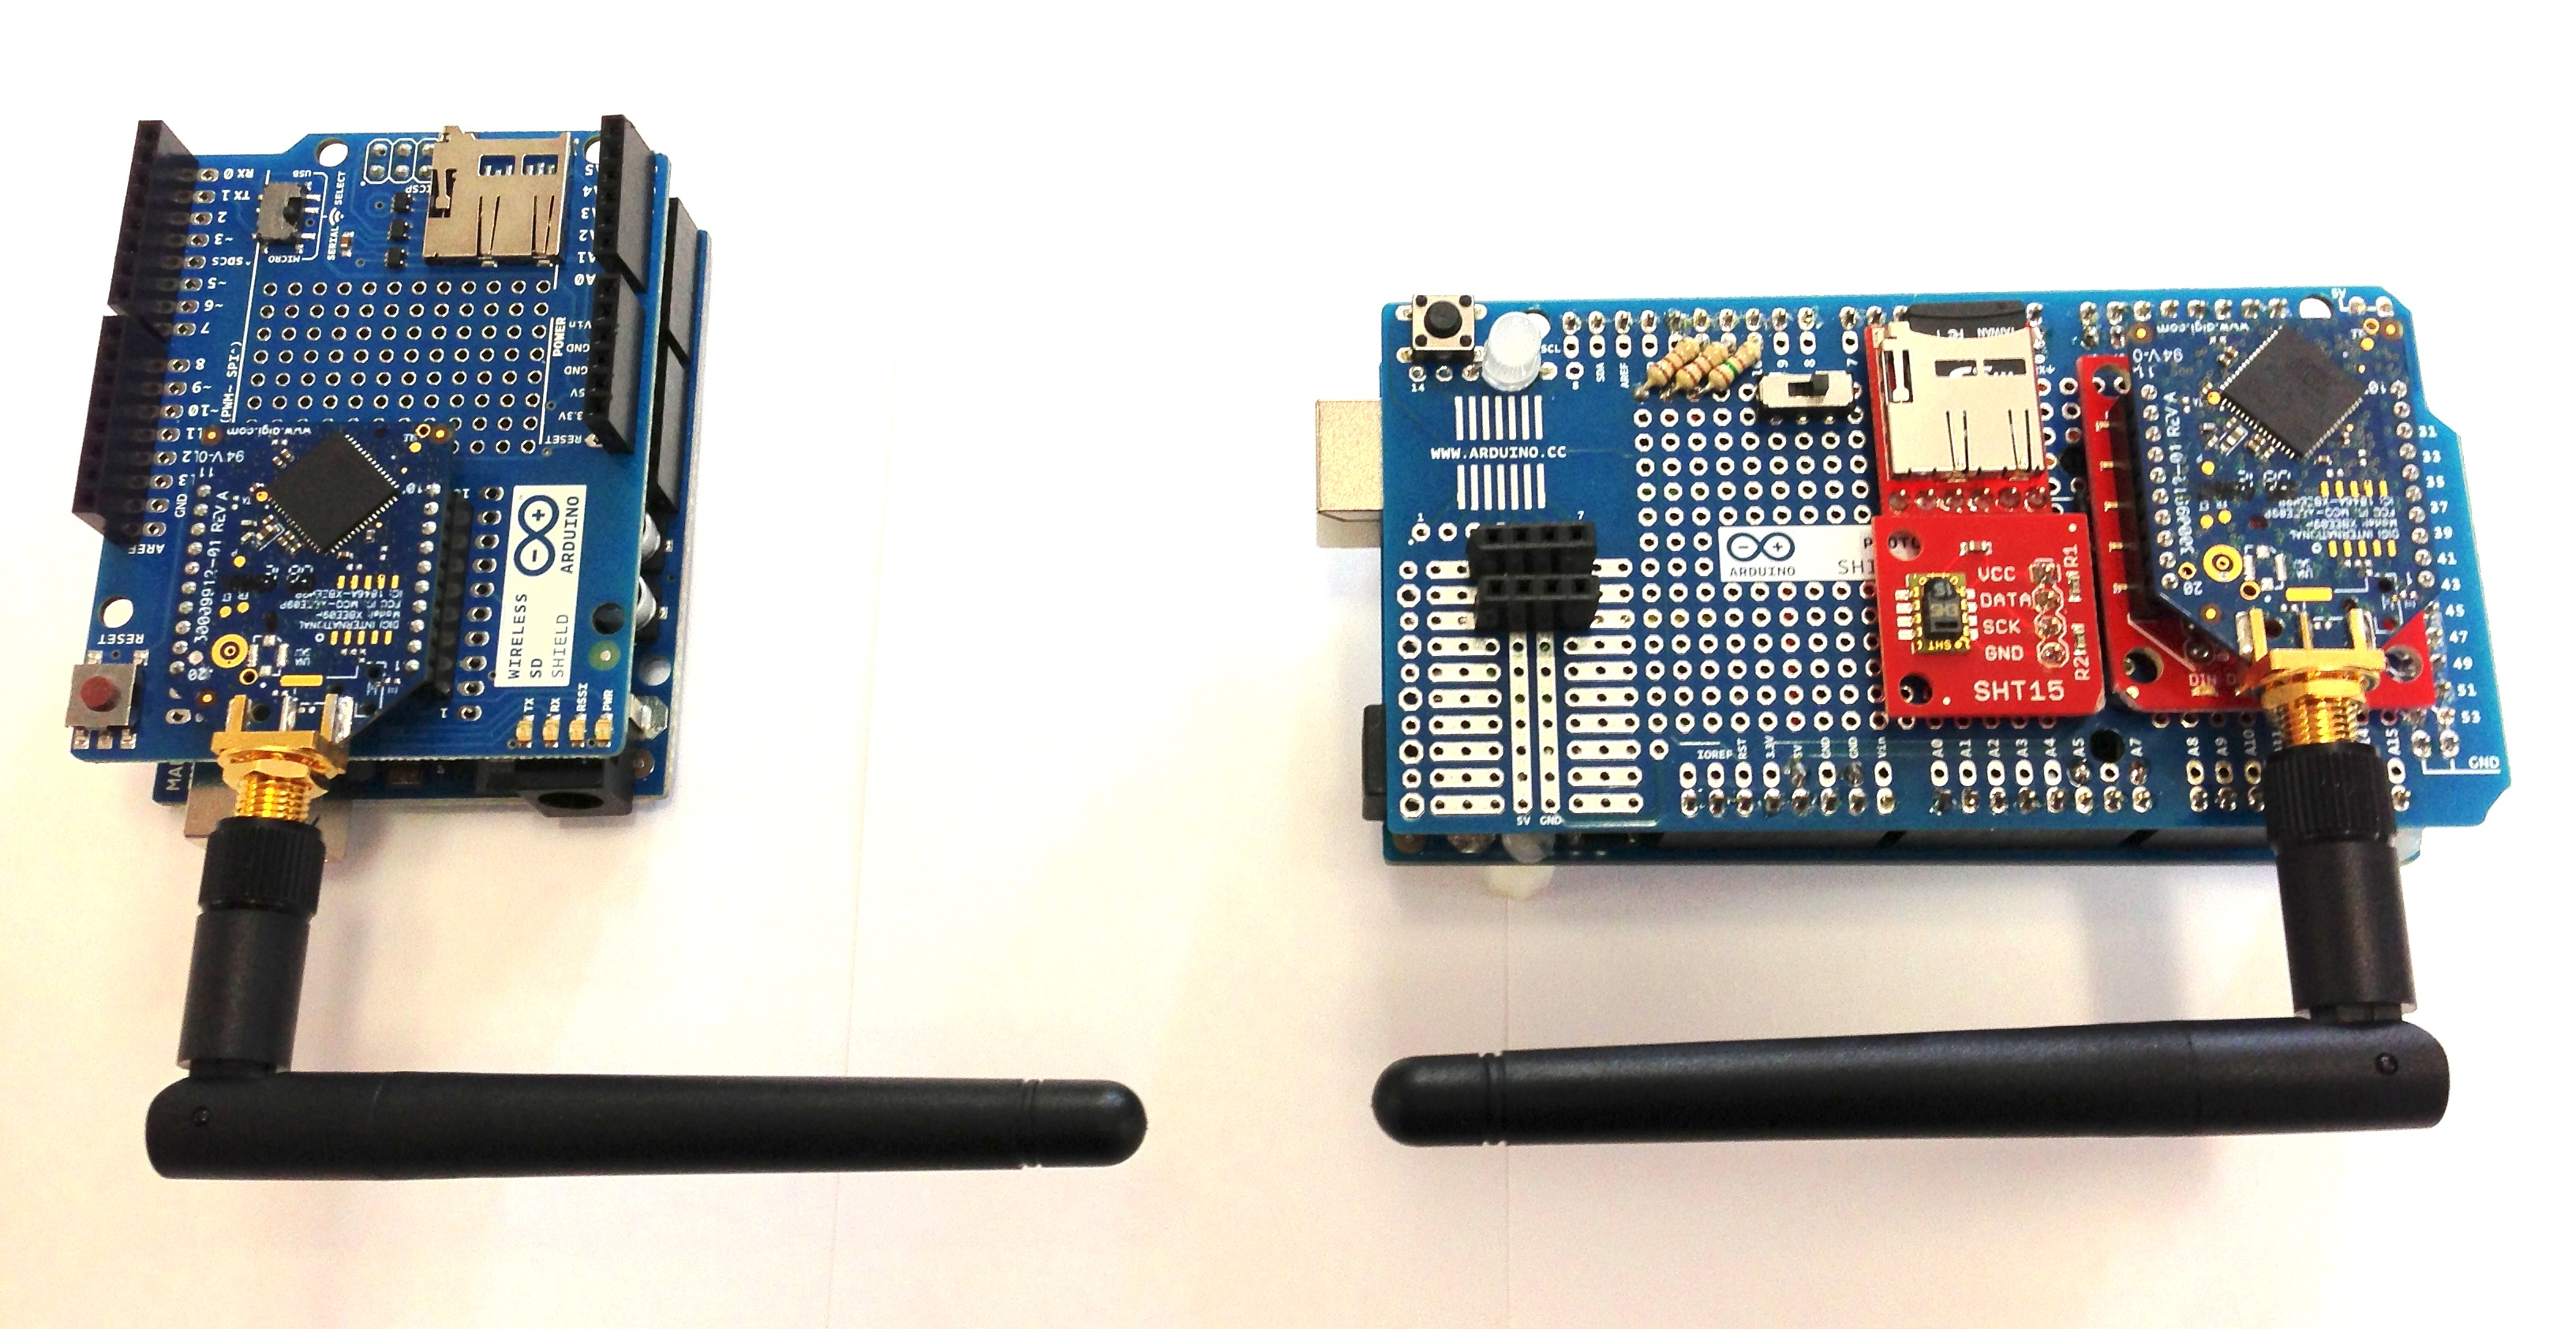
The modules worked well in the same room, but I wanted to test the range of the modules to ensure it would work at the distances I needed. The first thing I did was connect both Xbees to an Arduino. On one end, the Xbee is connected to a combination SD card and Xbee shield on top of an Arduino Uno. The other is connected to a regulated board mounted to a proto-shield on top of an Arduino Mega. This proto-shield also has an RGB led that we’ll use.
On the Uno end, I programmed it to send a number every second and then increment the number by one. On the Mega end, it listens for a number and if the number it receives is one more than the previous number, it makes the led green. If the number is incorrect, it makes the led red. And if it goes more than a second without receiving a number, it turns the led blue.
The code for the sending Xbee:
int i=66;

void setup()
{
    Serial.begin(9600);
}

void loop()
{
    Serial.write(i);
    i++;
    delay(1000);
}
The code for the receiving Xbee:
int i=0, j=0;
float time;

void setup()
{
    pinMode(11, OUTPUT);
    pinMode(10, OUTPUT);
    pinMode(12, OUTPUT);
    Serial.begin(9600);
}

void loop()
{
    if(Serial.available() > 0)
    {
        j = Serial.read();
        Serial2.write(j);
        if(j == i+1)
        {
            // Green
            digitalWrite(11, HIGH);
            digitalWrite(10, LOW);
            digitalWrite(12, LOW);
        }
        else
        {
            // Red
            digitalWrite(10, HIGH);
            digitalWrite(11, LOW);
            digitalWrite(12, LOW);
        }
        i=j;
        time = millis();
    }
    else if(millis() - time > 1000)
    {
        // Blue
        digitalWrite(12, HIGH);
        digitalWrite(11, LOW);
        digitalWrite(10, LOW);
        time=millis();
    }
}
This worked pretty well, but I wanted to test both the sending and receiving capabilities. To do this, I changed the Uno to listen for a number and then repeat that same number back. The Mega sends a number and then listens for a number for a few seconds. If the number is the same, it turns the led green. If it is incorrect representing a incorrect packet, it turns the led red. If it goes more than 1.5 seconds without getting a number, it turns the led blue.
The code for the repeating Xbee:
int j;
void setup()
{
    Serial.begin(9600);
}

void loop()
{
    if (Serial.available() > 0)
    {
        j = Serial.read();
        Serial.write(j);
    }
}
The code for the sending Xbee:
int i=48, j=0;
float time=0;
void setup()
{
    pinMode(10, OUTPUT); // red led
    pinMode(11, OUTPUT); // green led
    pinMode(12, OUTPUT); // blue led
    Serial.begin(9600);
}

void loop()
{
    i++;

    Serial.write(i);
    time = millis();

    while(millis() - time < 2000)
    {
        if (Serial.available() > 0)
        {
            j=Serial.read();

            if(i==j)
            {
                //GREEN
                digitalWrite(10, LOW);
                digitalWrite(11, HIGH);
                digitalWrite(12, LOW);
            }
            else
            {
                //RED
                digitalWrite(10, HIGH);
                digitalWrite(11, LOW);
                digitalWrite(12, LOW);
            }

            break;
        }
    }

    if (millis()-time > 1500)
    {
        //BLUE
        digitalWrite(12, HIGH);
        digitalWrite(11, LOW);
        digitalWrite(10, LOW);
    }
}
I’ll update this post later when complete results. Well, I tested it and it was less than stellar. I put the repeater on the fifth floor balcony of one of the engineering buildings and walked around with the other arduino until it started messing up. I think I maxed out at about 300 yards. The biggest observation I made was that these things really don’t like obstacles. I think this was the main problem I had since buildings and trees are all too common. But since I will be using this almost exclusively vertically between my kopter and the ground, I don’t expect this to be a problem. And 300 yards through obstacles and around lots of wifi and microwaves and cordless phones should translate to more than a mile through nothing but air. Looks like I was right to not trust the spec. The other observation is that sometimes packets get dropped even when there are no obstacles. This is just a part of wireless communication and is something you have to plan for.
Finally, here are some lessons I learned. The first is to make sure you’re providing the arduino with enough power. These long range Xbee units draw about 150 mA of current. At first, I was powering each Arduino with a nine volt battery since I needed to walk around while testing. After a while I started seeing more red and blue leds. it took me a while to figure out the problem since when I tested back in the lab, I would connect the arduino to my computer with a usb cable to monitor serial output and it would get the power from that connection. Also, when testing the 9 volt batteries with a multimeter, it showed 7.5 volts. Since the arduino only needs five volts, I thought it was fine. The mistake I made was testing the batteries when they weren’t connected to anything. When the battery was powering the arduino, it was outputing less than 7 volts and was incapable of supplying the needed current. Upon further inspection, the voltage regulator on the arduino really wants more than 7 volts to work properly. The fix: use fresh batteries or a wall power supply. The wall supply is preferable since standard 9 volt batteries aren’t meant to discharge at more than 50-100 mA.
The other big mistake I made was a dumb one. I occasionally forgot to flip the switch from usb to Xbee. You can imagine how difficult this made testing. That’s what I get for working late at night. Fix: don’t suck.
One other point that didn’t immediately impact operation but certainly made it harder to debug has to do with the Serial.print statement as opposed to Serial.write. When you use the Serial.write(some number) command it sends that exact set of bits to the other Xbee. However, when you go to view this number in serial monitor, it assumes the byte is ascii text and displays it as such. So the number 65 gets converted to ascii and is displayed as ‘A’. Numbers less than 32 aren’t displayable characters so nothing shows up on the monitor and it’s easy to assume you’re doing something wrong. When you use the Serial.print(some number) command, it converts this number into the ascii representation first and then sends that to the other Xbee. So when listening to that Xbee using serial monitor, the character that shows up on the screen is what you expect. As an example Serial.write(67) displays ‘C’ while Serial.print(67) displays ’67’. Doing the opposite, using Serial.print, with number less than 32 is also very difficult since it converts that into multiple characters. Since the program is only listening for one character, it throws things off considerably. For as difficult as this was to find, the fix was an easy one. Just use Serial.write() on each arduino and things will work perfectly. To make it easier to debug, I started the numbers at 48 so that they would be viewable on the serial monitor as well.

Having used these radios for a project a few other notes/comments to share are
1) it looks like you’re using omni-directional antennas which will significantly reduce your range. Using higher gain directional antennas on the Tx device or on both devices.
2) Using a slower bit rate might improve your range slightly
3) Using packet based messages through the API mode instead of serial bits will significantly improve the resolution of your test, similar to what you’re doing with the character to ASCII numbers but then you can write in your own ACK and NACK messages.
Lastly, using the methods mentioned above I’ve only been able to get about a mile or so via LOS. The 6 miles is a best case scenario.
Hope this helps. I greatly enjoyed the post!