

I recently outgrew my old watch case and decided to get a new one. I had trouble finding ones I liked and that would use the space I had efficiently, so I decided to make my own. Now, let me start by saying that this isn’t perfect. At all. Not even close. And I’ll admit that it’s kinda driving me crazy. But the goal here was to be quick and cheap since I’ll probably only be using this for a year before moving into a new home and making a new one. Details and pictures after the jump.
The first thing to do was decide on a method of building the case. I considered lots of options: 1) A plastic divider system. But that didn’t really have the look I wanted. I wanted something more solid. 2) Wood dividers routed to snap together. This is the one I considered the longest. You could just route out little slots in the horizontal and vertical pieces of wood and they would just fit together. But I don’t have a router so that would be expensive. Maybe next time. 3) The current design. I realized that the cheapest option would be to do something that only required a saw and nailer, since that’s all I had. In order to make that work, you have to stagger the rows in order to fit the nail gun into position.
Next, I measured my current box and decided I could make each slot smaller since I don’t like huge watches. This one has spots 2.25″ x 3.25″ but you can alter them to your heart’s content. Remember to account for the width of the outer pieces and that you will have to fit this in your drawer. So I made it a half inch shorter that the depth of my drawer to slide it in without problem. In my case, I chose 2.5″ high wood because that is what was available (it’s sold as 3″ but is actually 2.5″). I would have preferred 2″ but I knew 1.5″ was too short. So I’m going to buy some of this foam from amazon, cut it, and put a piece under each watch pillow. I was originally thinking pine but this poplar was only slightly more and was much straighter (from the big blue box store).
I drew out plans and bought the appropriate amount of wood. I cut it into lengths using a stop block on a chop saw. The stop block really saved me when it came to cutting the 16 shorter pieces.
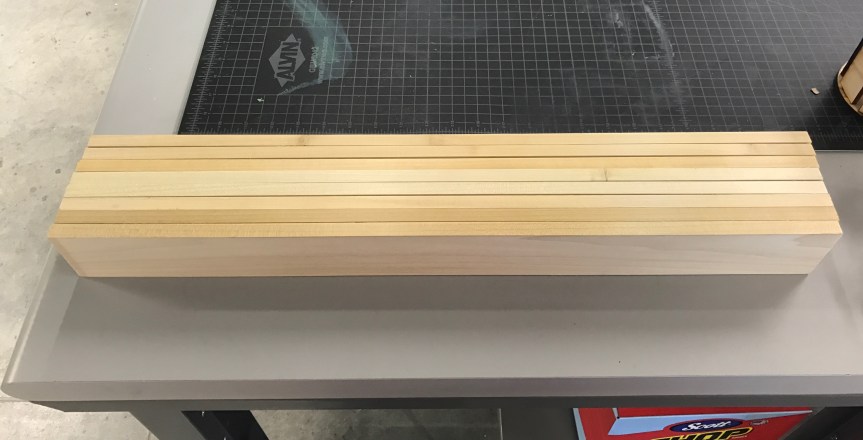
Next, I sanded them down with 220 sand paper (especially the cut edges) and painted them. The picture below is a line of the smaller pieces. We will discuss the painting later in the “I wish I had…” section.
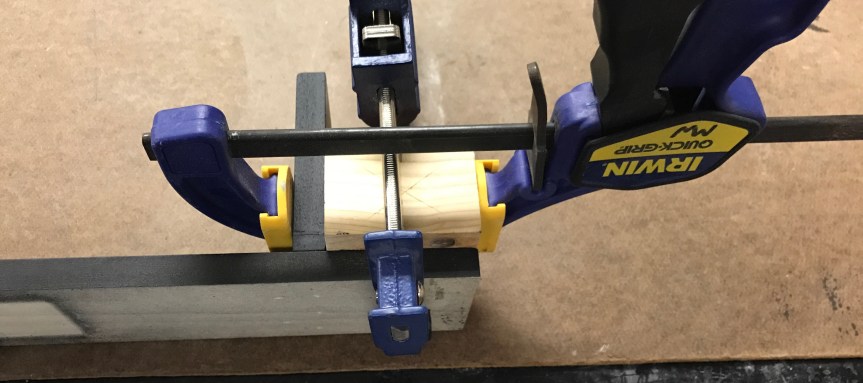
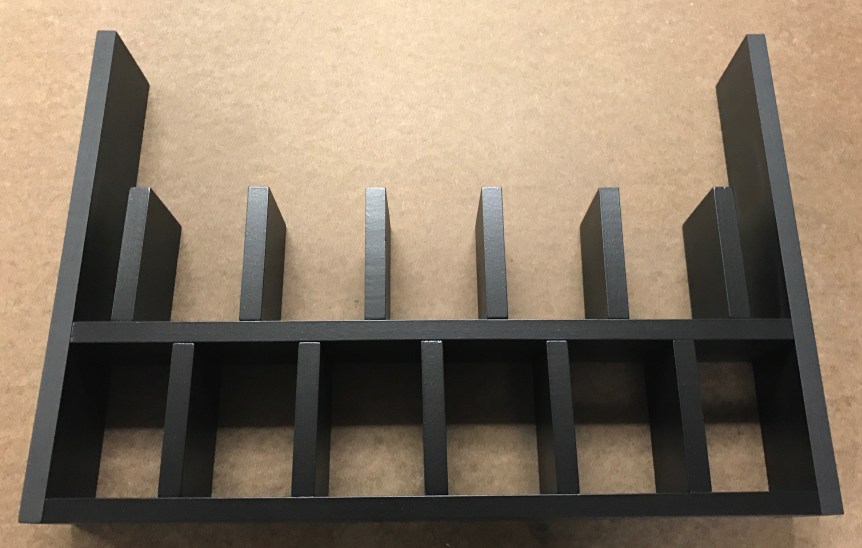
Next, I nailed the shorter pieces, which I will start referring to as the vertical pieces from here on out. I used an 18 gauge brad nailer for this and I can’t imagine doing it by hand – though perhaps you could use glue and clamps if you were really patient. To make spacing consistent, I made a block of the appropriate width. I clamped it to the horizontal piece and clamped the vertical piece to that to ensure that it didn’t move during nailing. But toward the end I got much less judicious about precision.
After the three rows were completed, I filled in the nail holes with puddy, waited for it to dry, and sanded it off. These holes are in a location where you will be able to see them when the product is finished so it’s good to get it covered nice and smooth. That’s why this side wasn’t already painted – so we could fill the holes and sand it down.

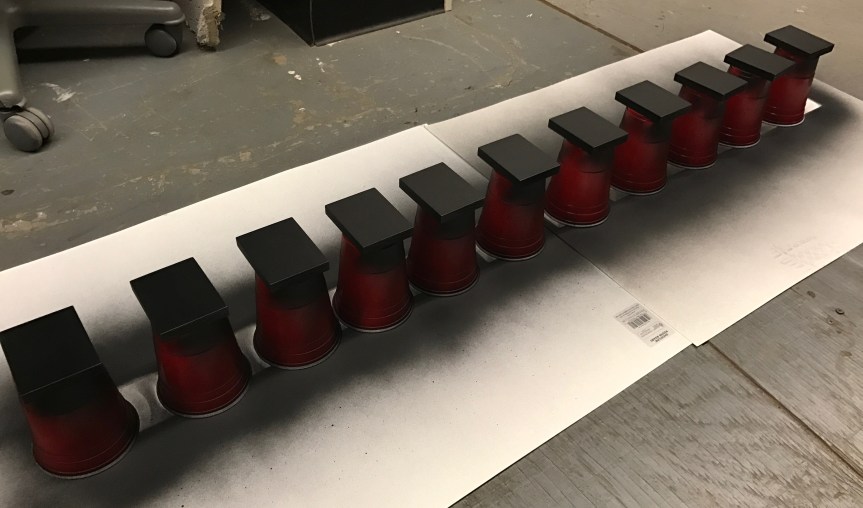
Next, I finished painted the exposed end parts as well as the side/back pieces and then put on a clear coat finish. I wasn’t expecting to need that but without it, this spray paint was just a little too happy to rub off. Below shows all the pieces after painting.
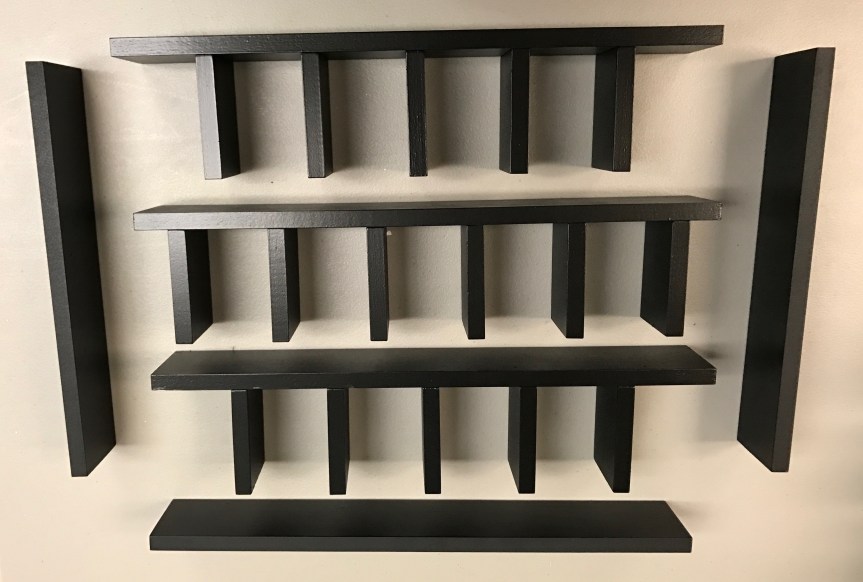
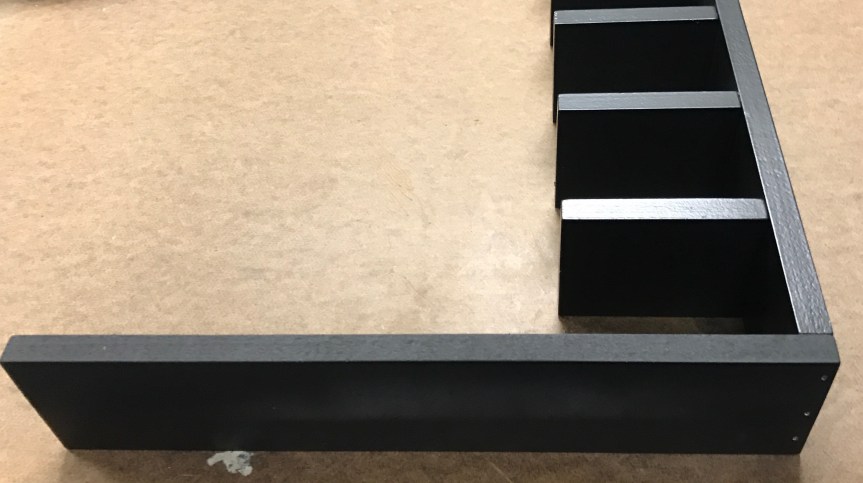
I pretty much just nailed them together in the arrangement shown above. First, I nailed the side pieces onto the bottom-most horizontal piece; this will help align the others later.
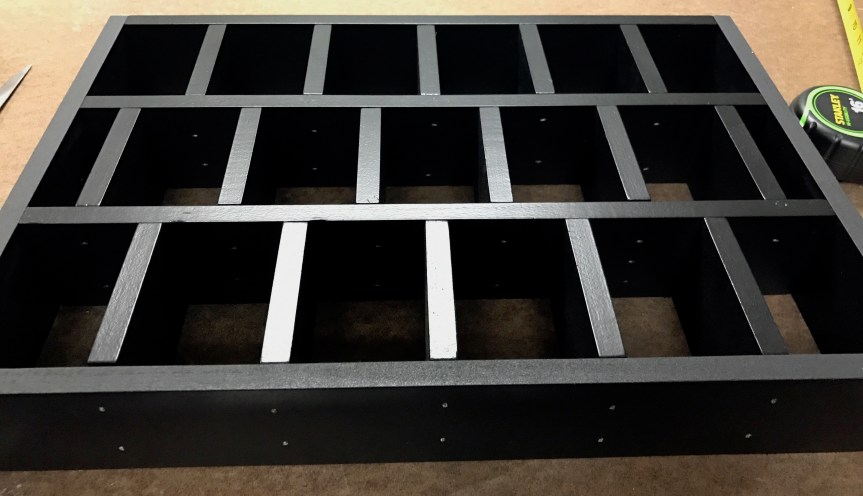
Next, I nailed on the second row of horizontal pieces, nailing through a horizontal piece into each of the short vertical pieces below it. You can see now why it had to be staggered and there’s plenty of room to get the gun in there. While doing this, I used the block again to make sure the vertical pieces were straight and even (and I mostly succeeded).
And here it is after all nailing is complete. This is actually the back view and you can see the nail holes. Thankfully, nobody will be looking at this from the back so it doesn’t matter.
I originally planned to use 2″ pipe foam as the pillows for my watches but while they fit the watches well, they don’t necessarily fit the space well. So I opted to use the pillows from my old case instead. You can order them here.
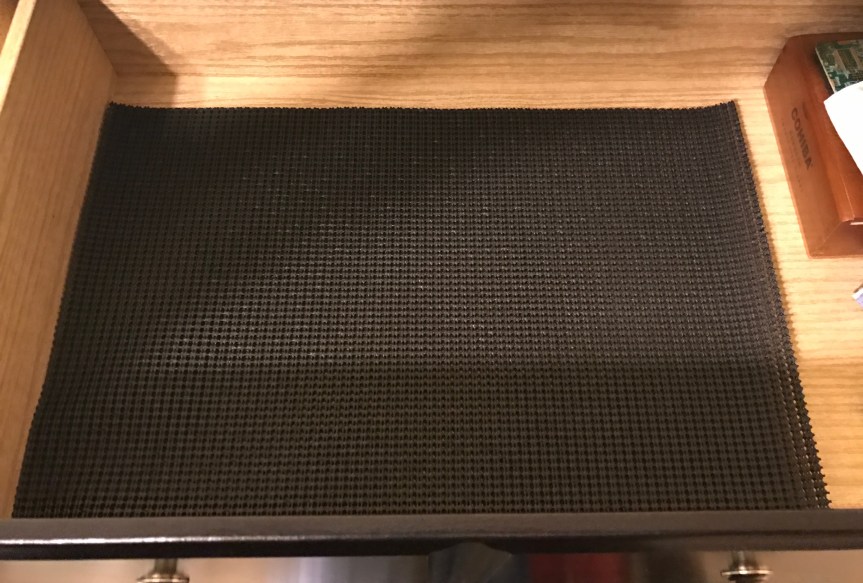
Back at home, I laid down some black shelf liner cut to the dimensions of the case. You can’t see it once the case is down but it helps prevent sliding and looks nicer, if you ask me. I actually used two layers.
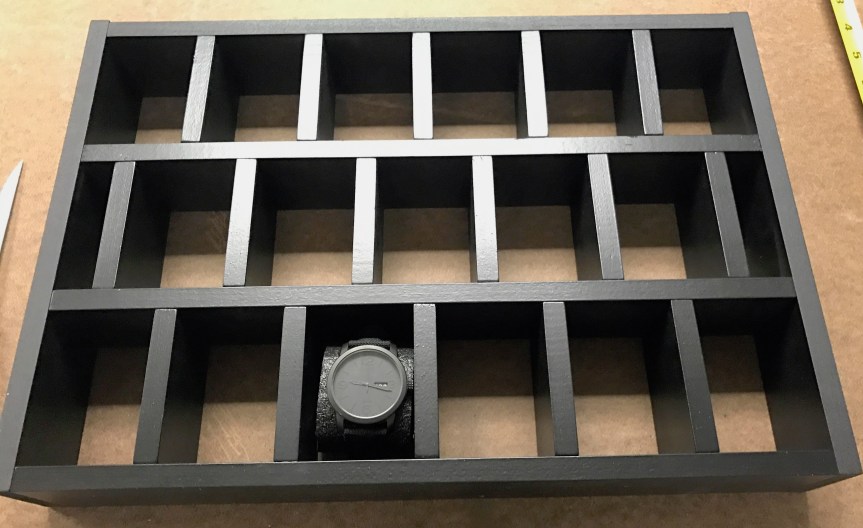
And here is the finished product, complete with watches. I used those two small little cubbies made by offsetting the slots to hold cufflinks, rings, etc.. I simply took a cheap cloth ring holder and cut it to the correct dimensions and slid it in. Now I’ve got room to expand and can store bands, wallets, etc. in the back until I do.

In hindsight, I wish I hadn’t planned on perfection. I tried so hard to make things absolutely perfect and accurate down to .000000001″ but in the end it never is. I would have saved my self a lot of trouble if I had acknowledged that at the beginning and just settled for very good instead of perfect. Also, if I did this again, I would wait to paint until after the entire box was made. There were too many times where I damaged the finish and I had fix it (or ignore it). Next time I’ll wait until the end and just use several light coats to get into the spaces.

You provided us with these measurements: 2.25″ x 3.25″”.
Can you please provide the width/thickness of the watch dividers?
Thank you.
Sure, the thickness of all the wood was 0.5″.